Saturday, January 30, 2021

Printer Calibration

 Many people share their print settings online. Some are really good, like the ones from Chris Warkocki aka codiac2600 who publishes them in the Prusa Facebook group and on GitHub.

While for many those profiles work very well out of the box, to me there is always some room for improvements that lead me to have my own profiles per printer, not per type of printer.

There are no 2 identical MK3S in the world. From little variations in the used parts over the care that was put in to put it together to the variation of adjustments like the belt tension there is always a difference in 2 printers.

So for really good prints, you need to spent some effort to calibrate your printer. Also if you have multiple printers like myself, then you want the printed parts to come out the same quality and size on every printer.

In the beginning I spent hours to adjust model dimensions in CAD between my first two printer.

But before we start, just a reminder that this is very much depending on the material you print and the shrinkage is dependent on the material and might have huge effect on the size of an object. 

So one of the first things I start with is the extruder stepper. You can use Octoprint and the Terminal to send commands and receive the output.

With "M503" you get the current settings. Not just the steps per unit, but this is the part that is in focus here so I cut the rest out. I also assume that you have already some filament preferable PLA loaded.

Send: M503

Recv: echo:Steps per unit:

Recv: echo:  M92 X100.00 Y100.00 Z400.00 E415.00

As I have a BMG extruder clone installed I have 415 steps for the extruder motor per unit.With a standard extruder you might have less, roughly 1/3. 

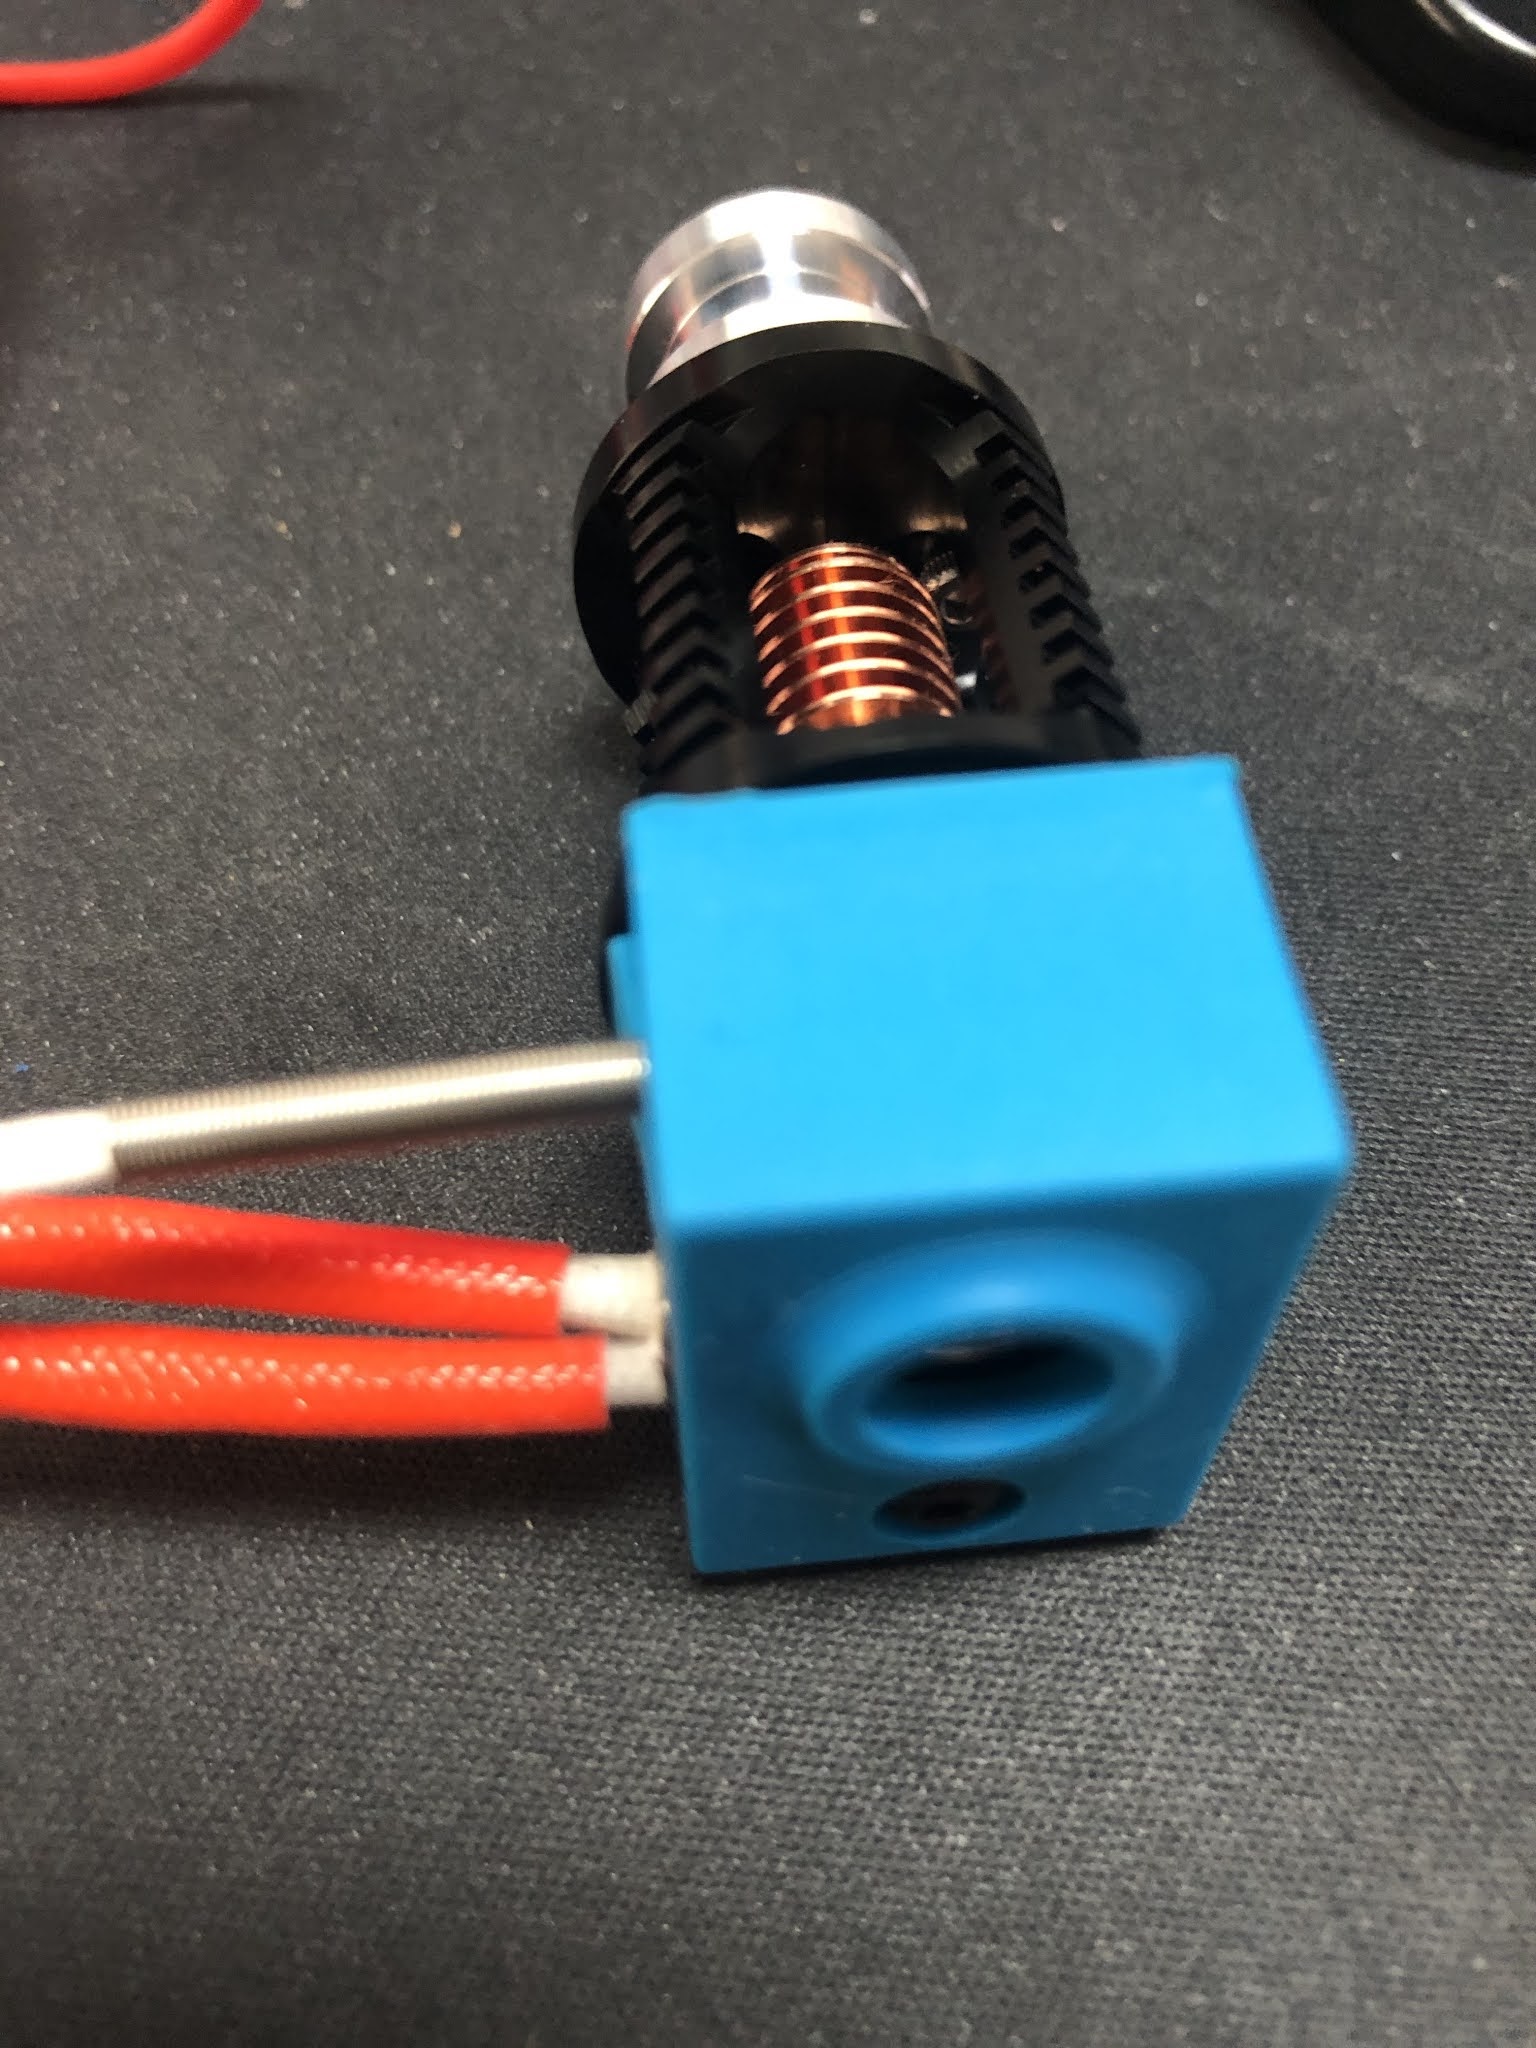
Now we need to make accurate measurements or we will only make things worse. Take some calipers or a very precise ruler. A folding ruler like shown in some videos is not an appropriate tool for this job. The maximum my calipers can measure is 150mm. Now measure the 150mm from the top of the extruder body and mark the filament with a fine permanent marker.

Next we heat up the nozzle and maybe just give a 5°C more than usual to make sure the filament is properly molten in time. With the nozzle at temperature we go back to the terminal in Octoprint. And set the count for the extruder stepper to 0.

Send: G92 E0

Recv: ok

Again, make sure the nozzle is at temperature. Then send the command to extrude 100mm of filament. 100mm is just fine as it leaves you with plenty length to measure. If you would extrude 150mm the mark maybe already in the extruder body and not visible and/or reachable to measure.

Send: G1 E100 F30

Recv: ok

Then measure the distance from the extruder body to the mark you made with the permanent marker. In my case I there was 47mm of filament left. So the extruder extruded 103mm instead of 100mm.

We need a little bit of math now to calculate the new values based on the ratio. 

100/103 x 415 = 402.91

That is quite some difference. For the next stepp we need to terminal again to send the new value to the printer.

Send: M92 E402.91

Recv: ok

But we also need to save it to the eeprom.

Send: M500

Recv: echo:Settings Stored

We can now read it back from the eeprom and ask for the values.

Send: M501

Recv: echo:Hardcoded Default Settings Loaded

Send: M503

Recv: echo:Steps per unit:

Recv: echo:  M92 X100.00 Y100.00 Z400.00 E402.91

As next step I usually perform a first layer calibration. There are plenty of instructions about it that you can find with google or at the Prusa blog or forum. Important is that the surface is clean, so you don't have adhesion problems.

Then I print a 1 layer test rectangle of 40x40mm and let it cool down. Then I measure the thickness with my calipers. AS I use the cheaper powder coated steel sheets from China, they have a rougher surface as  the Original ones from Prusa. Because of the texture you will not be able to get a 0.2mm thickness with a 0.2mm layer height. Usually I end up with a thickness between 0.2 and 0.3 mm. 0.25 is what I try to archive. 

But be careful to not scratch the build surface with the tip of the nozzle. And keep in mind to you have to do this for every sheet. This is why Prusa added the feature to store values for multiple sheets.

When I am happy with my first layer, then I move onto the other dimensions. Usually I print a cube of 40x40x40mm. I often see people using cube with just 20mm edge length. That save some material, but as short the distance is as smaller the deviation will be that you can measure. The optimal size would be 200x200x200mm I guess, but that costs a lot of material as you might need to redo this step a few times.

Once the print is cooled down we start to measure. Make sure you mark the surface somehow so you know later which axis it is. There are cubes with marks, but they introduce irritation in the surface that might lead to false measurements.

So again in my example those where my measurements:

X 39,80mm  Y39,60mm  Z 40,70mm

Similar math as we did for the extruder needs to be done per axis now.

X = 40 / 39.8 x 100 = 100.50

Y = 40 / 39.6 x 100 = 101.01

Z = 40 / 40.7 x 400 = 393.12

So we have our new values now and need to program them into the eeprom of the printer.

Send: M92 X100.50 Y101.01 Z393.12

Recv: ok

Save them

Send: M500

Recv: echo:Settings Stored

Read back and check values

Send: M501

Recv: echo:Hardcoded Default Settings Loaded

Send: M503

Recv: echo:Steps per unit:

Recv: echo:  M92 X100.50 Y101.01 Z393.12 E402.91

So now all stepper motors are calibrated for now. You might want to revisit this calibration once in a while to check if everything is till ok with you favorite print profile. As you can see here I still have a little "elephant foot" on the bottom of my test cube. There is are also some vertical lines that you can barely see. 


I have noticed that the nozzle was scratching over the print while printing and making a squeaky noise sometimes. Could the steps for the z axis be wrong? Well, as the end result was exactly the 40mm the 0.2mm layer height seemed to be ok. Did it?

No, remember when I said above that you will never get an exact first layer height of 0.2mm with a textured print bed?  So if your measured first layer height is 0.25mm, then the cube height should be 40.05mm, not exactly 40mm as you have to add the difference from the first layer.

So I had to adjust the steps for the z-axis again. 

Last, but not least there is shrinking. Shrining is what makes objects warp on the drin surface. When the molten plastic cools down it shrinks a bit. Some plastics shrink a lot, like ABS, some less like PLA. so you might have a PLA cube that is exactly 40mm on all sides, but the same cube printed in PETG it is not.

Then I focused on the surface. So I just printed a rectangle with 10mm height. What you see in the photo is the pain top surface, no ironing. You can nearly see some marks from the infill.


But still I was not happy with the top surface. So the next area to improve the settings was the print profile in Prusa slicer. In the filament settings you find the extrusion multiplier. I used the pretty PLA profile from Chris as a base that had it set to 0.95 (95%). I ended up using 0.93(93%) in this case.


Keep in mind that this might also vary on the filament you use. Especially when you use cheap filament that varies in diameter over the length of a spool, the results might not be very good. 

You can also set the change the flow multiplier in firmware  with M221. But I prefer to do this in the slicer profile as this is very much different depending on the filament. 

Basically the math is Total flow rate = Flow multiplier in firmware (M221) x Extrusion multiplier in PrusaSlicer. So a flow multiplier in the printer of 1.05 and a multiplier of 0.95 in Prusa Sliver would be a total flow rate of 0.99 again.

Once you have dialed in your slicer profile, you might want to revisit the calibration again as those settings might affect the overall values of the size of the printed part. If you really need that precision.


Wednesday, January 27, 2021

Triangle Labs Dragon hot-end and BMG extruder clone assembly

 So in the last post I showed off what I bought during 11.11. sale on aliexpress and after.

This time let get into building the Triangle labs Daron hot-end and their BMG extruder clone.

The Dragon hot-end comes in this plastic case with the parts, some spare parts and some hex wrenches. Keep in mind that you only get the hot-end, but no heater cartridge or temperature sensor.

BTW: This is the high flow (vulacno like) version. I have the normal version running in another Prusa MK3S clone for a couple of weeks now.


As I ordered the full kit of the BMG extruder there was a V6 clone included that I used to harvest the missing parts for Dragon hot-end. That included the 40W 24V heater cartridge as well as the right temperature sensor for the Prusa(clone).


I really liked the temperature sensor with the metal spring sleeve. Usually the cables of the temperature sensors are the ones that get damaged when people are careless when working on the hot-end.


Even though there was a silicon sock included with the Dragon hot-end. But I wanted to use the one from the V6 clone as well. There is a little problem with the fit as you can see.


But easy to fix with a sharp knife. Just cut the lip off on both sides for 2mm.


After that we have our Dragon hot-end nearly complete.


For the BMG extruder clone I strongly suggest to study the assembly manual from Bondtech® as a reference. 

So I will focus on the differences here and not spent the effort for a complete guide.

Frist of all download and print this little tool from Bondtech® that helps you to cut the PTFE tube to the exact length of 6.3mm. Don't forget to create a inner chamfer with a drill bit at the end.


So know it is time to start preparing the 3D printed parts. First of all I check that the filament path is ok, by sticking some filament thru it. It is a tight fit, but that is ok. You cannot have a lot of play if you ever want to print flexible filament with it. Those parts come in their own bag and have a decent quality.

Those printed parts are from the FDM conversion of the BMG extruder by Marco Zambon (Marco Z76) that shared his files on Thingiverse. Big shoutout to Marco for his work!


Then you have to mount the threaded inserts, but be careful. 

1) They are not at the same spots as the original Bondtech® BMG extruder!

2) Make sure you insert them properly with a soldering iron and don't tilt it(not like it did in this photo)!


You have to insert 3 of them, this is the first.


Here goes the 2nd.


And that is the last one.


Again, make sure the are straight in and just a smidge under the printed surface. I have heated my soldering iron up to 220°C. The prints become soft like butter at this temp and you only got one shot to get it right. If you start to wiggle around the printed part is ruined and the insert will not sit tight.

In the next step you need to insert all the square nuts and some "normal" M3 nuts. Especially this one is not reachable anymore once you have insert the hot-end. I use a longer M3 screw to push them in straight. 


Now we need to prepare the plastic gear on the shaft, as we use it as tool to press fit the bearings. Put the extruder gear with the lock screw on the shaft and make sure the lock screw is on the flat side of the shaft. Do not over tighten this screw, you will need to adjust the height in a later step and this is a very small thread that is easily damaged.


Then put one of the small 5 x 8 x 2.5 mm gears on the end of the shaft.


Now use this assembly to press fit the bearing into the 3D printed part. Make sure you don't tilt it as this will ruin the bearing and the seating. Then follow the same procedure for the other 3D printed part.


Next is to prepare the stepper motor. You need to adjust the height of the gear that there is around 1mm space between the gear and the stepper chassis. If that gear is mounted to high, you will grind down the plastic gear that interlocks with it. Make sure you got the orientation right and the little lock screw facing the flat side of the shaft.
 

Then we have to insert a M3x10 screw in this hole. It takes a bit of wiggling, but make sure to down damage anything as there will be a square nut inserted in a later step.


Next step is to mount the motor with 3 screws as shown here. The one on the left down corner is the one we inserted in the previous step. When you tighten the screw the hex wrench goes thru the hole in the 3D printed part. Again, don't mess it up! When you insert the plastic gear you can now check that the gears have proper contact with all the surface of the teeth on the plastic gear. If not, then the gear on the motor is too high.


Now it is time to insert the square nut. In my case it was not a very tight fit, so I decided to secure it with a drop of superglue. As you can see it inserted a long M3 screw to make sure there is not superglue in the threads of the nut. I also kept turning the screw to avoid the screw being glued to the nut.


I did move on to the lever next. When you open the small bag with the gears, this is how it looks like.
They put the needle bearings on the long shaft. THAT IS WRONG!


As you can see here, the long shaft is used to mount the lever in the housing, the short one is used with the needle bearings as axle for the other drive gear.


If you mix the shafts up and press fit the short one into the housing with the lever, you will not get it out anymore.

Next step is to assemble the magnets and parts for the filament sensor. Just follow the instructions from the Bondtech® or Prusa® assembly manual. 

If you habe completed both side of the housing it should look like this. Make sure you have the setscrew on the shaft with the plastic gear facing to the lever(it is on the wrong side in this picture). You cannot turn the gear once the two side of the housing are together.


In my case one screw was no flush with the 3D printed part and causing problems. I ended up cutting away a little piece of plastic on the other side to make it fit.


After that it fitted perfectly and next if to use the x-carriage mount and the long M3 screws to finally hold the 2 parts of the housing together.

Next steps are outlined in details in the Bondtech® assembly manual I linked in the top of this post. Basically mount the Fans, the Pinda probe and take care of the cables. Don't forget to align the drive gear on the shaft with the plastic gear.

Once you got this done you got yourself an extruder/hot-end combo like this.


You may have noticed that there was no nozzle in the hot-end all the time. The reason is simple. I started to use the original E3D Nozzle-X in all my printers in 2019 and never had to replace a nozzle ever since. I did not have any of those nozzle at hand when I built this. But the nice thing about the Dragon design is that there is no risk of loosen up the heartbreak from the heat block when working on the nozzle. You might twist the whole hot-end in the extruder body, but you can easily twist it back in position.

I usually heat up the hot-end to 80°C and then just slightly tighten the nozzle. Especially with the copper heat blocks you can easily mess-up the heat block with too much force. Copper is a soft metal and those are small threads.

I hope that guide helped a bit if you want to build your own clone.

Last tip. If you don't have changed anything else on your clone that would require changes to the firmware, the use the firmware that Bondtech® provides for the MK3(s) and flash on the Einsy Rambo board. Besides the 3:1 ratio for the stepper motor they might have done more changes(I did not check this).
Also important! After flashing the Bondtech® version of the Firmware you have to perform a full factory reset in order to get the settings for the 3:1 ratio of the extruder stepper motor to become active. All this is outlined in their manual.


Monday, January 25, 2021

 Long time no post, but I was busy with other projects. I got into house automation, built a new Hackintosh as my 1st generation core i7 got a bit slow lately.

I did built some more Prusa MK3(S) clones, but basically all the same pattern. Still used cheap parts from Aliexpress, just for the motors I switched to original LDO motors(same brand as Prusa uses). Why, it is just less hassle and better print results at the end.

So in summary I felt not much was worth posting about it. Posting more and more builds of the same 3D printer over and over again did not sound that interesting to me.

So what changed? Well I did follow the rapid improvement of extruders and hot-ends, but never felt the urge to spend hundreds of € for extruders and hot-end to hopefully improve the print quality. I was pretty much happy with the print quality of my E3D V6 clones, once I properly calibrated and configured my printers. The only original part that all my printer have in common is the NozzleX from E3D. Which I never replaced on any oy my printers, regardless of printing hundreds of hours with PLA, PETG and some PC and Nylon.

But as the facebook groups where flooded with praises for the Bondtech© BMG Extruder and the Slice Engineering® Mosquito® hot-end I thought it is worth to try out the cheap clones of them.

So I was basically looked up at home due tot he COVID19 restrictions and after watching everything on Netflix and Prime Video I spent way to much time in the Internet. Then on the 11.11 sale on Aliexpress I pulled the trigger on 3D printer parts and home automation gadgets for hundreds of €.

There was a lot of crap that was not worth the money and again I was upset about the Aliexpress customer service that closed some of my disputes without any comment and no refund. Even when I provided photos of the damaged or missing parts. Obviously Aliexpress customer service does not find it suspicious if a seller takes down an item after getting the first bad reviews and then just re-lists the same item.

First item on the list is the Mellow all metal NF-crazy hot-end. Basically a Mosquito® clone, but the heat block is slightly different. So much that the extruder bodies for the Mosquito don't fit.

Also to mention that you just get the hot-end, not heater cartridge, no temp sensor.


I guess the reason is that the want to avoid legal problems. But you can then also buy a Mosquito silicon sock from Mellow that has the option "with block". And you get the heat block in original shape.

Once you switched the heat block, you got yourself an exact clone. BTW: you can use the disassembly manual for the slice engineering website.

I also ordered the Dragon V2 hot-end from Triangle Labs. Not an exact clone of the Mosquito, bit a kind of a merged design between the Mosquito and a V6 hot-end. First I ordered the standard version, which is in use in one of my MK3S clones now for a couple of weeks and very happy with the print results. It has a NozzleX of course.

I addition I ordered the Prusa i3 MK3/MK3S upgrade kit from Triangle labs, which is basically a BMG Extruder clone. I did not take any photos from the build as this was in December when we had more COVID-19 lockdown and I had to take all remaining vacation from 2020. On 2nd Jan 2021 it was ready for the first print.

This is the fully assembled kit with Dragon hot-end and pancake stepper motor.


This is the very first out of the box print, without any calibration done yet. It was some old PLA, not dry so there is some stringing. But already looked nice. Later I did some more extrusion calibration.


Then I ordered a set of 30 magnets supposed to be for the Prusa heat bed from 3D SJHE Tech Store. But they are total crap. The seller claims that they are N35UH, but they are not. Again total crap.


Let me explain why. 

1) Those magnets are less powerful than the one Prusa uses.

2) UH means they would be certified for use at 180°C. But the lost their magnetic power at 80°C.

So let me explain the problem with magnets. Heat reduced the magnetic force and can even lead to permanent loss of magnetic force.  There are different categories for heat resistant magnets EH is rated up to 200°C, UH up to 180°C, SH up to 150°C, just H up to 120°C and just M up to 100°C. As you usually not heat the bed over 100°C would might think H would be fine, but being exposed over longer period of time the value is reduced again.

The N35 would be the material and magnetic force, a higher number means more force.

Prusa uses N45SH magnets, hard to find, mostly you find cheap fakes like this.

Because I am so happy with the Dragon hot-end, I ordered a 2nd full fit of Dragon hot-end and BMG clone. But this time I went for the "high-flow" version, kind of a volcano version. 


I will make an extra blog entry for the build of this hot-end / extruder combo.

Another thing I am very happy with are those powder coated steel sheets from Energetic 3D Store. Only one side has the structures powder coating, the other side has a PEI sticker. Don't get confused with the headline. This seller has no smooth powder coated sheets like Prusa has now(well they are always out of stock).

I like the golden color and I have the impression they have more "grip" as the original Prusa ones. The texture is "rougher", feels a bit like thousands of prices of broken glass. I use IPA with paper towels to clean and they rip little pieces out of the paper towels.


I have used them now for a couple of weeks with PLA and PETG, no issues and still as good as at the first day. I want to try some Poly Carbonate and ABS soon. I paid 20€ per sheet in the Prusa MK3 size including shipping to Germany.

For the same seller I bought flexible build plates for my first DLP printer. Again I am happy with the quality. 


Which leads to these nice toys. A Elegoo Mars 2 Pro and the Elegoo Mercury 2 wash and cure station.


So expect some blog posts about the hack I planned for those 2, like a Raspberry Pi Zero for remote control over WLAN.

Besides the post of the detailed build of the Dragon hot-end / BMG extruder clone combiner's you can expect some updates on other topics. Like the use of a Raspberry Pi 3A+ on the Einsy Rambo board, as the zero is just not powerful enough to work with the latest version of Octoprint and some plugins.


A new project "automatic cat litter box"

 I did not post any updates for a long time. I spent some time making some money with 3D printing to recover some of the costs from this hob...