Again I followed the instruction on the Prusa website:
Prusa Heatbed assembly
So I started to assemble the heat bed. As you can see the MK52 klon has soldered wires. I would have preferred the version with screw on cables. I 3D printed the cable cover with a 90° angle as this MK3 klon is supposed to go into an Ikea Lack enclosure. Then you need the stand offs with counter sunk screws, 2 M3x12mm, 1 M3x10mm and 1 M3 nut. If you wonder about those pliers, both ends move parallel and I like to use them to press in nuts in 3D printed parts. So you don't tilt them.

The cover is secure with a M3x10mm screw to the heat bed. I use the cable sleeves that Prusa recommends now. Also make sure you align the cable from the temperature sensor properly.

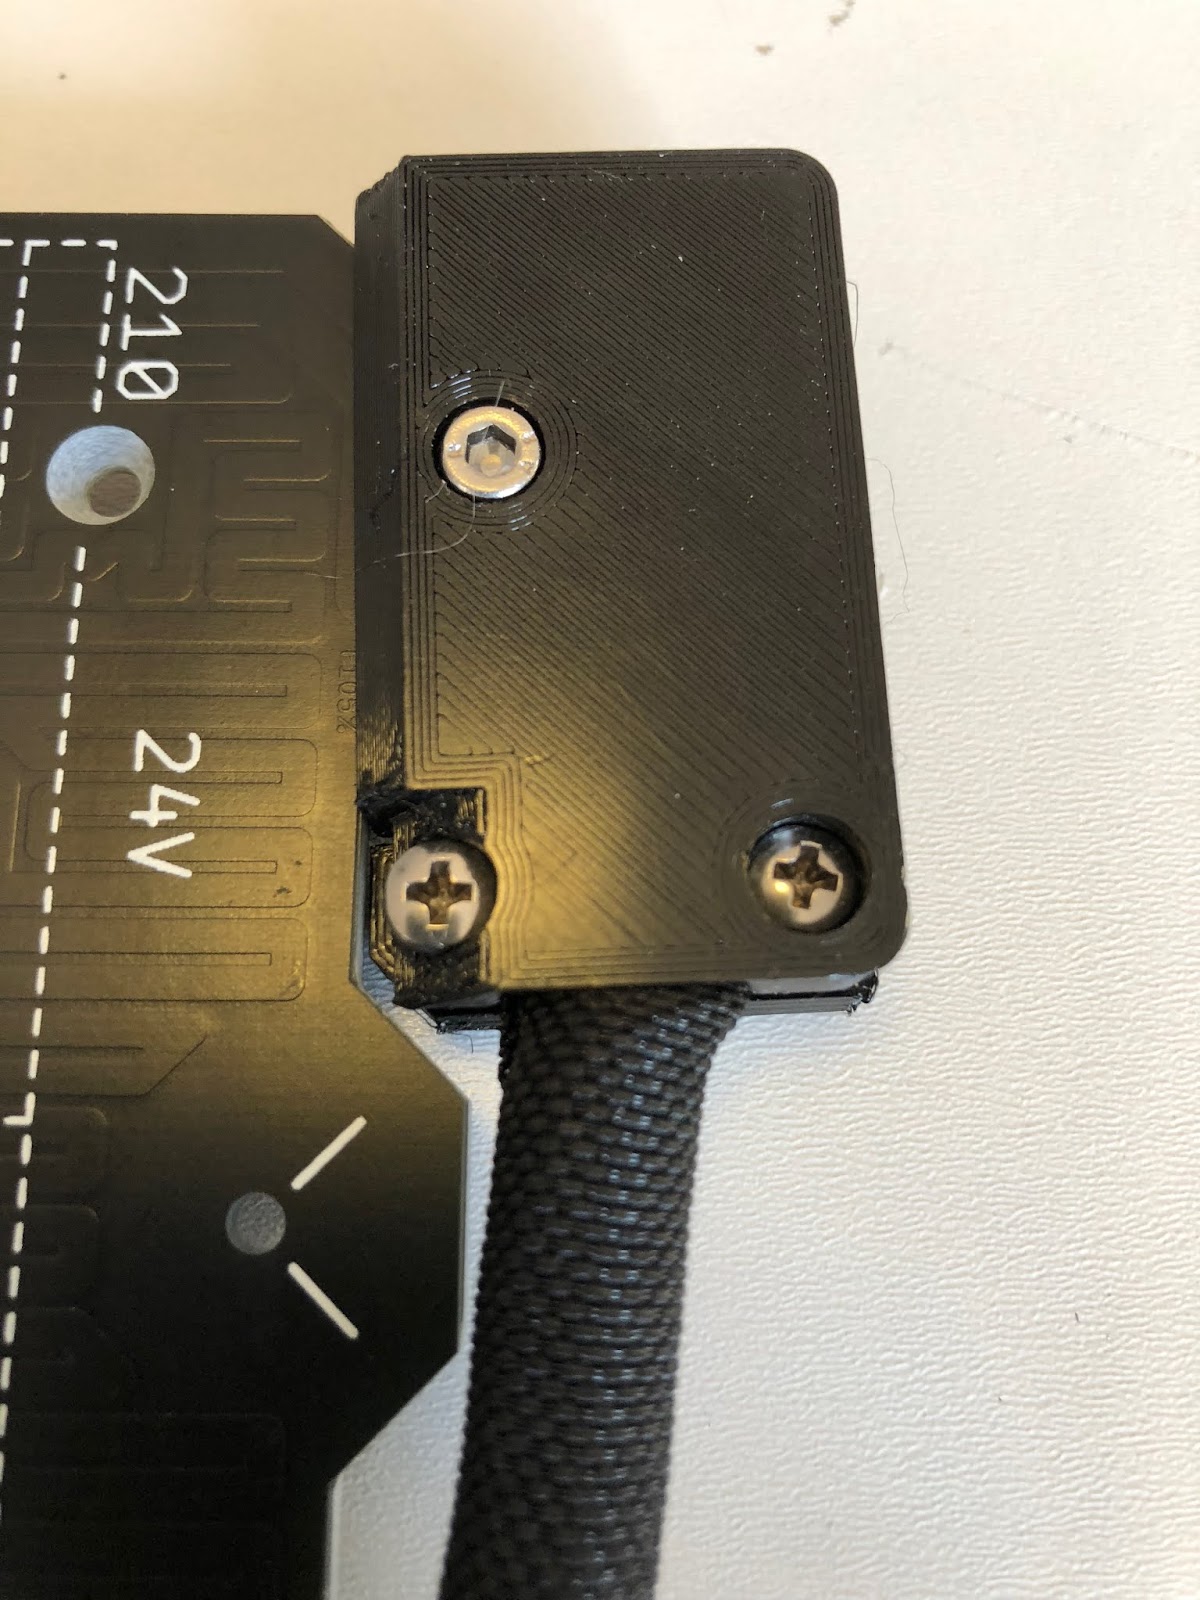
When everything is in place secure the cable with the clamp.

This is how the cover looks on the top side.
Now you can mount the heat bed with the stand off and screws to the y-carriage. Once you are done it should look like this.

The other parts I printed are for the Einsy Rambo case. The case, door, hinges and cable clamps.
In the last minute I decided to go with the latest design from Prusa that has an option to easily access the Raspberry Pi zero.

With some sharp pliers and a deburring tool you can nicely remove the area for the Pi.

Then you need to press in the 4 M3 square nuts and the 4 normal M3 nuts. Then it is time to secure the Einsy Rambo board with 4 M3x10mm screws.


Before we can proceed we need to attach a cable sleeve to the x axis stepper motor. I had something lying around that I secured with a cable tie to the motor.


Then you just have to assembly the door with the hinges to the frame and finally the case with the board. Make sure you don't forget to feed the cable sleeve from the x-axis thru the hole in the case, before you screw it to the frame. Then attach the Pi cover.


No comments:
Post a Comment